Chaos Shrine
We’re in the endgame now. With all the Fiends defeated, only the final dungeon remains. There are 10 new bestiary entries and 7 chests to collect.
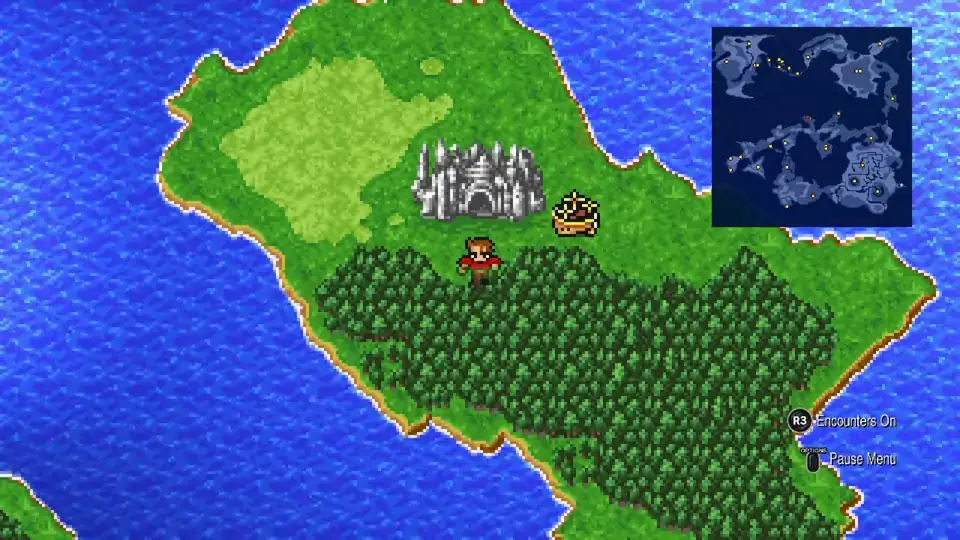
Travelling to Chaos Shrine
Continuing from the previous chapter, rest at an Inn and stock up before flying to the shrine. Cornelia’s shop is limited, so hit Gaia or Onrac for Hi-Potions, Ethers, and Phoenix Downs.
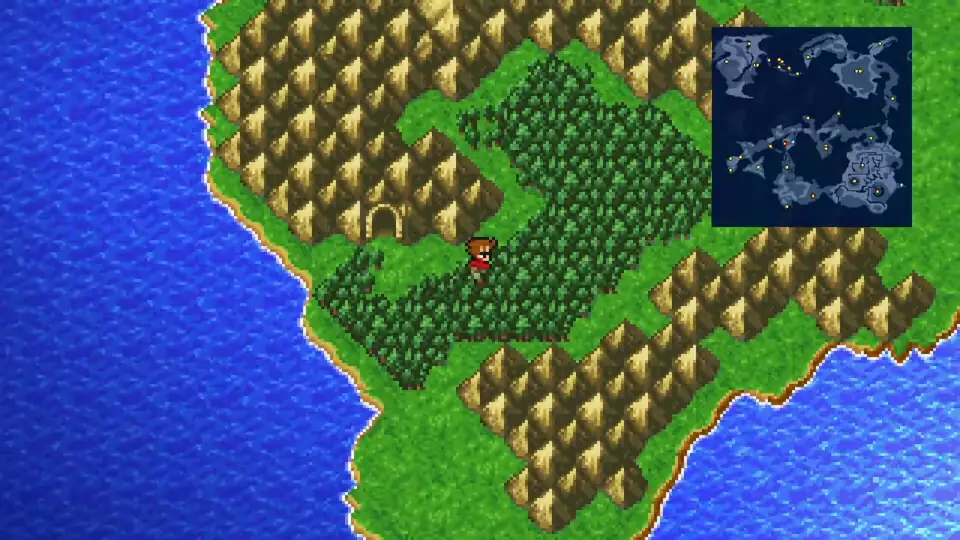
Chaos Shrine
New Enemies

Once you’re inside the Chaos Shrine, enter the room where you defeated Garland and interact with the orb. It will allow you to travel back 2,000 years in time.
1F. Exit the room and take an immediate right. Go north through the pillars heading east, then south to the southeast corner for the stairs to 2F.
2F → 3F → 2F. On 2F, take a right and climb up to 3F. Go south, take the final right, and follow the pillars north into the guarded room. A Death Eye blocks the entrance. Kill it, grab both chests (Dry Ether and Elixir), and interact with the stone tablet in the center. The Lute from Princess Sarah activates automatically, and a ladder appears leading back to 2F. Exit the room, take the first left, follow the columns north to find stairs in the top-left corner.
1F. Head west and take the stairs in the top-left corner down to B1.
B1: Lich
Go around the outer edge, ignore the pathway with the pillars and continue east. Take the path south and you’ll come across a yellow orb. Heal up before approaching it.
Head down the stairs to B2.
B2: Marilith
Exit the room and take a left. From the columns, head north into a room. Take the first immediate right, then the third path south through the pillars. Continue south and take a left. You’ll see a red orb but skip it for now to collect the chests on this floor.
Take the left door heading south. Grab the Protect Ring in the first room and then go down and left. Follow the path to the end and you’ll see a room containing a chest, Sasuke’s Blade. Return the way you came and take the right door this time: Protect Cloak in the first room and an Elixir down the hall on the right.
Head back to the red orb, heal up, and fight Marilith.
After the fight, continue down to B3.
B3: Kraken
Go through the door and out the other side. Stay south and take the first door on your left. Follow the path around until you reach three inscribed stones and go south. Take the first right and you’ll come across a blue orb: Kraken.
The stairs to B4 are just past the orb.
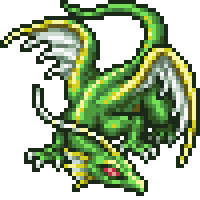
B4: Tiamat and Masamune
Head south, and south again. Take a right and then the first right. Go south, take a right and follow the zigzag path working your way to the southeast of the map. You’ll reach a room containing the Masamune, the strongest weapon in the game. Any class can equip it. That’s all 249 chests collected.
Return the way you came to the top left corner, but this time take a right and follow the path to Tiamat.
Descend to the lowest floor.
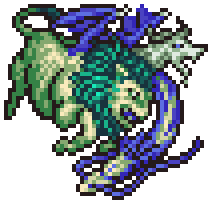
B5: Chaos
Circle around the room and enter from the south. Garland is back, but he’s Chaos now. Restore everyone to full health. Use every Ether and Elixir you have. Make sure Ribbons, Excalibur, and Masamune are all equipped. Save when you’re ready.
Chaos hits hard enough to drop anyone without Protera and Invisira active. Keep at least 2 Full-Life charges in reserve. If he casts Haste on himself, reapply your defensive buffs immediately. The fight can drag if he uses Curaga, but your damage output with Haste, Temper, Flare, and Holy should outpace his self-healing.
When Chaos falls, the time loop is finally shattered. The paradox that trapped the world for 2,000 years comes to an end. Watch the ending and credits. Congratulations, you’ve beaten Final Fantasy 1.