


Final Battle
Continuing down from B8 of the Lunar Subterrane, the descent finishes through B9 to B12 to the Crystal Room and Zeromus. 4 chests and 4 new bestiary entries wrap up the bestiary and the chest count. Save often; the random encounters from here on can drop a party member in one hit.
B9 to B10
The chests on these two floors take you to 342/342 and unlock the Legendary Treasure Hunter trophy.
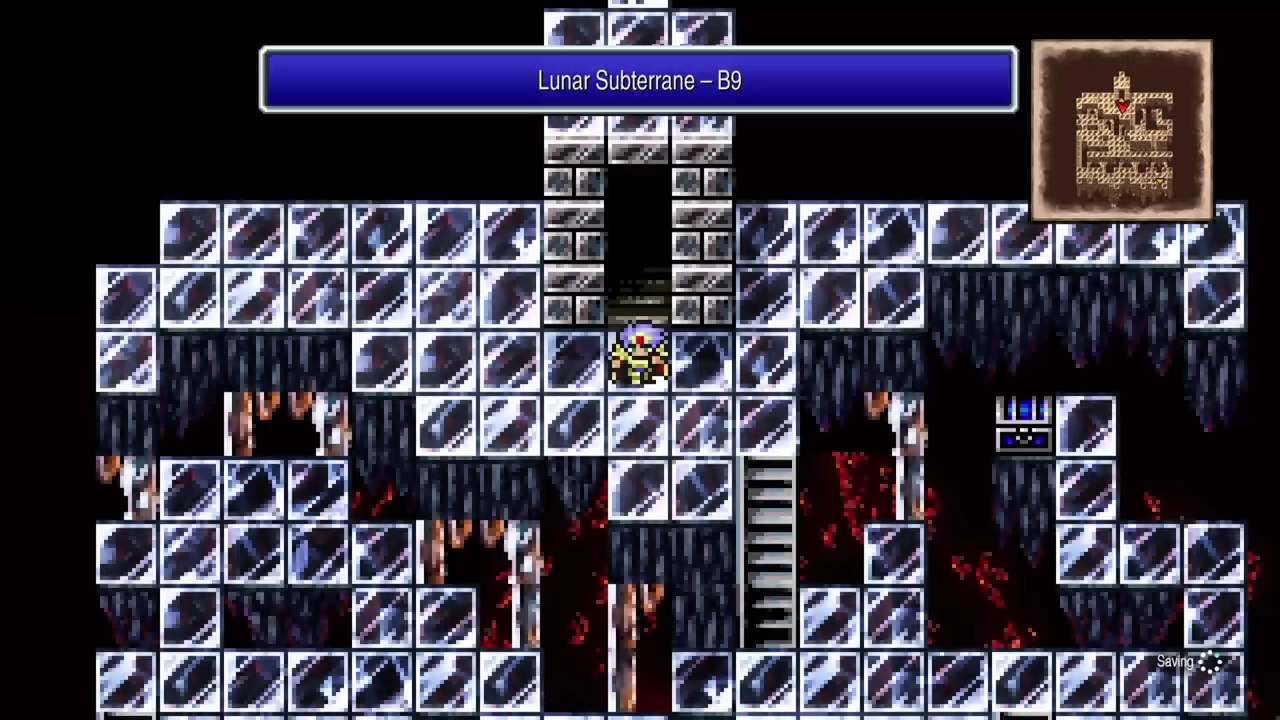
B9
Walk down the stairs and open the chest for an Elixir. Follow the linear path south for a Gysahl Whistle. Continue east to the warp pad.
B10
Walk south down the stairs. Open the east chest for a Fuma Shuriken. Cross to the west side for the final chest in the game: another Fuma Shuriken.
Continue southeast to the warp pad.
B11
Two new enemies spawn here: Zemus’s Mind (20,000 HP) and Zemus’s Breath (40,000 HP). Both register as separate bestiary entries. Farm a few rounds if you need extra EXP before the final boss.


How to handle each:
- Zemus’s Mind: immune to physical attacks. Hits with Fight and casts Confuse on the party. Use Bahamut, Holy, and Edge’s Throw; skip Cecil and Kain physicals.
- Zemus’s Breath: a slow tank with no real offense beyond Scan. Hit it with everything physical (Cecil’s Ragnarok, Kain’s Jump, Edge’s Throw).
Follow the linear path south to the warp pad. Step on it to reach B12.
How to Beat Zeromus
A cutscene between Golbez, FuSoYa, and Zemus plays first, then Zeromus rises from Zemus’s hatred. When you regain control, you face a Zeromus body that resists every element.
After the final blow, the ending and credits roll.
Save when prompted. The file loads outside the Crystal Palace, so you can return to clean up any hidden summons, the Pink Tail farm, or the level 70 grind for the last few trophies.