


Cave of Mysidia
With both masks placed, the Crystal Rod is the next piece toward unsealing the Ultima Tome. The Cave of Mysidia sits east of town inside a ring of mountains, five floors of hidden walls and status-inflicting enemies. This chapter covers Cave of Mysidia for 19 chests and 6 new bestiary entries.
Return to Mysidia first. Rest at the inn and restock Ethers and Antidotes. Make sure you have the Black Mask from the Tropical Island; a doppelganger on B1 won’t let you pass without it.
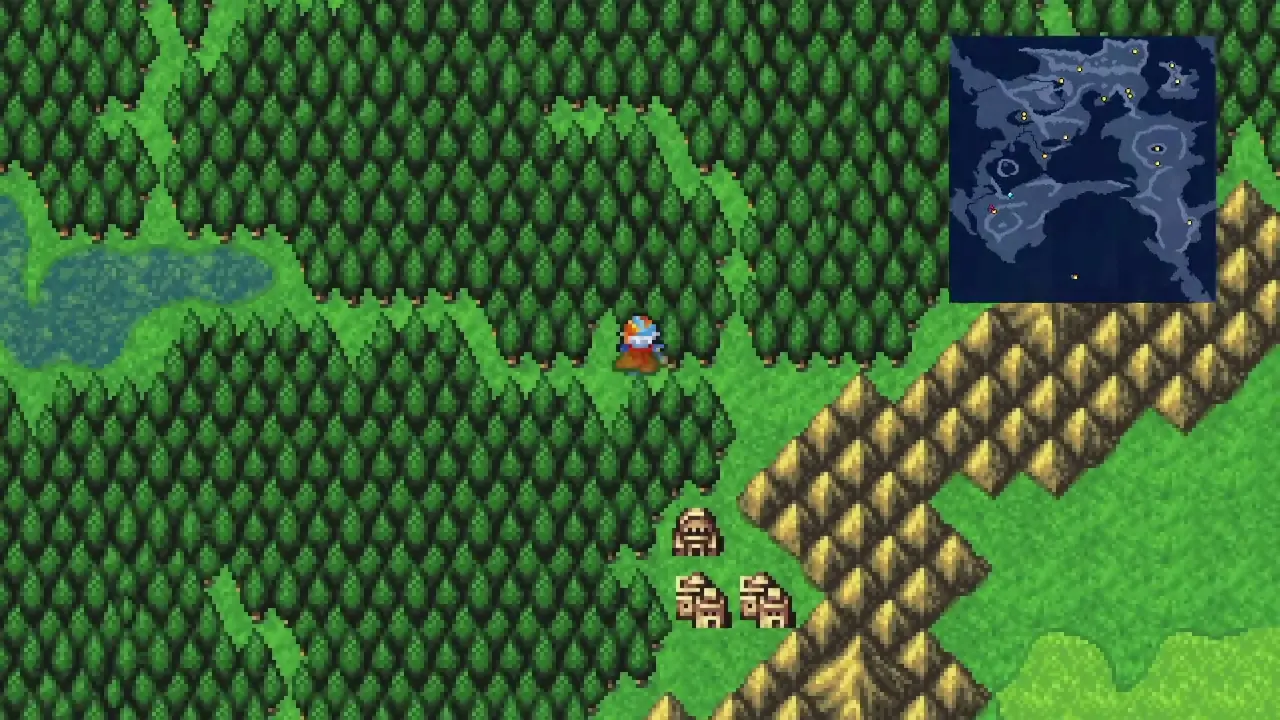
Reaching the Cave
From Mysidia, walk north and then east along the coast. When the mountains open up, cut south into the gap. The cave entrance is inside a circular mountain range in the centre of the continent; enter through the small opening on the right side.
Cave of Mysidia
New Enemies


Malboros (750 HP, weak Lightning) hit 5 times per turn and their Bad Breath stacks Poison, Curse, and Amnesia in one cast; level Esuna to Lv4+ so you can clear all three. Death Flowers (540 HP, weak Fire and Ice) inflict Poison through their 4-hit physicals, so chip damage stacks fast. Ghosts (540 HP, weak Fire) replace the early-game undead on B4-B5 and cast offensive Black Magic. Cockatrices (370 HP) and Black Flans (370 HP, weak Fire) handle B1-B2; Black Flans have very high physical defense so Fire is the answer. Flying Rays (750 HP) appear from B3 with high evasion. The recurring undead (Ghasts, Revenants, Wraiths, Specters) are Fire and Holy weak; if you bought Holy in Mysidia, this is where it starts paying for itself.
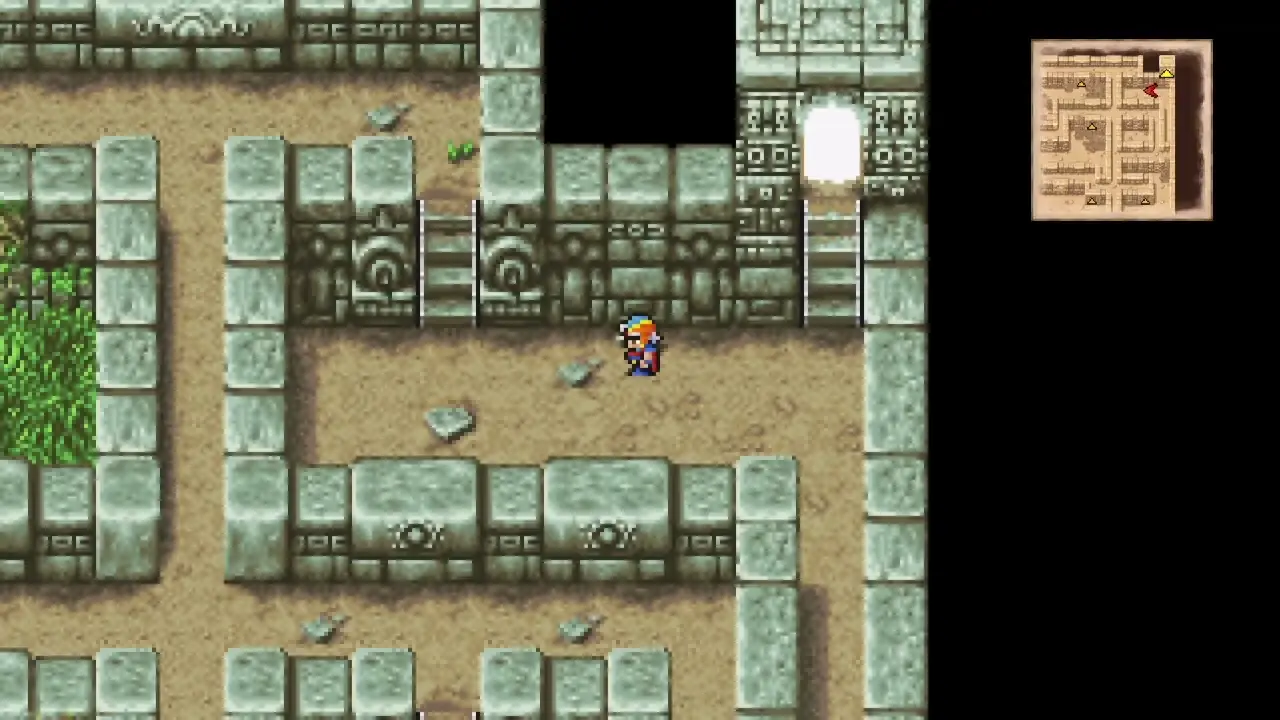
B1. Go left from the entrance and follow the path west to the far wall. Down the stairs for the Black Garb chest. Loop back east and take the first south path to a four-way intersection. Go right and down the stairs for the Gold Hairpin.
Continue south and east until you reach a doppelganger of Firion blocking the door. Use the Black Mask from your key items to dispel it, then take the stairs down to B2.
B2. Up the stairs from the entrance and north past the first split, then east to the end. Down the stairs for the Power Staff chest. Climb back up, then east and south past a split. The third wall tile from the bottom on the right side is a hidden passage; walk through it and push north for the Flame Lance.
Both Power Staff and Flame Lance are sold in Mysidia’s weapon shop, so these chests save you 23,000 Gil if you held off on buying them. Exit back through the hidden wall and go all the way west, then south through the door at the bottom-left to reach B3.
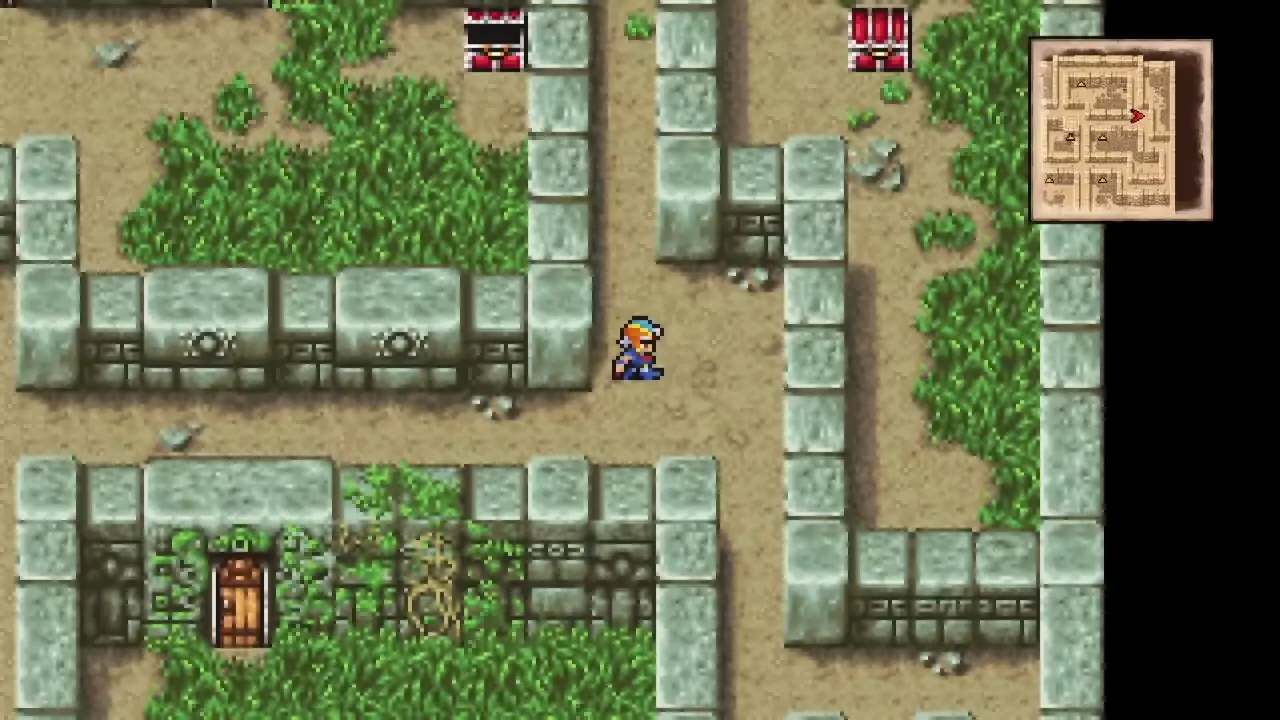
B3. Up the stairs and left. Another hidden wall here; the fourth tile from the bottom above the long west wall lets you pass. Walk through for the Ice Bow, then back out and south.
Take the first right and follow the path around to the Ogrekiller chest, the first monster chest of the dungeon. 5 Bombs ambush it; kill them quickly before they self-destruct or the explosion deals heavy damage to the entire party. Skip the first door you pass and take the second one to reach B4.
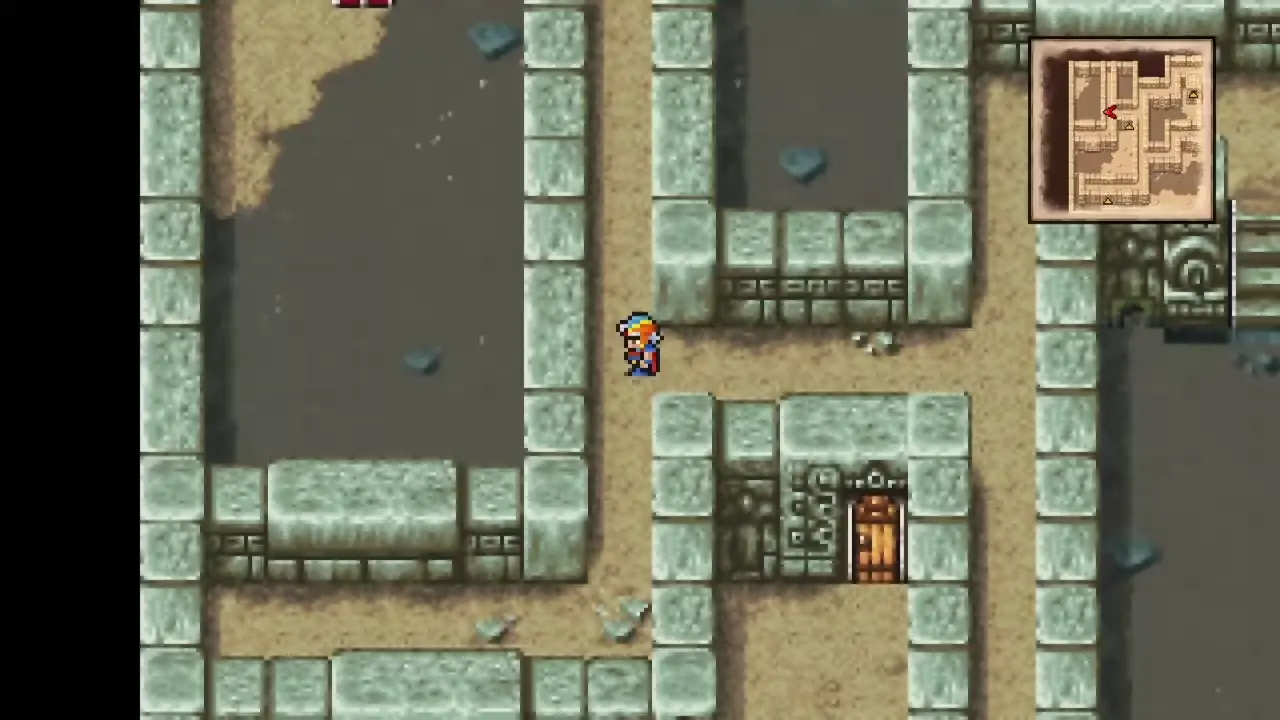
B4. Head south, up the stairs, then west. Follow the path around to the top-right corner for a Potion chest. Go south to find three doors. The middle one leads to a room with three chests: Phoenix Down, Bell of Silence, and Gold Needle. Exit the room and head to the bottom-right corner; the door there leads down to B5.
B5. The Drain Tome chest sits on the right side near the entrance, the second monster chest of the dungeon. 5 Ghosts ambush it; Holy makes quick work of them. Head south and east, then north along the right wall. Just before the grassy area ends, there’s a hidden passage on the left.
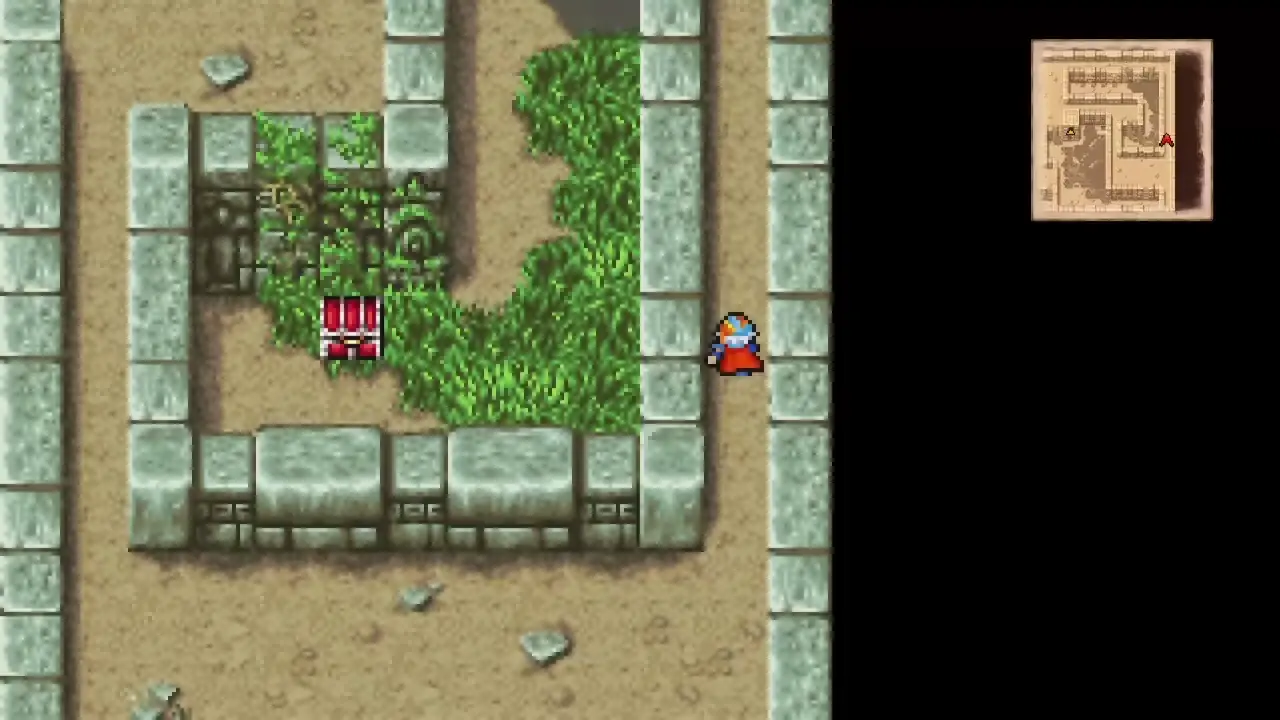
Walk through for the Mini Tome, then continue north inside the hidden area for four more chests: Potion, Ether, and two Hi-Potions.
Exit through the hidden passage and loop west, south, and back west to the final room. Three chests: another Drain Tome, the Crystal Rod, and the Osmose Tome. Teach Osmose to your main caster for MP drain on long dungeons. Teleport out once you have the Crystal Rod.
The next chapter sails north from Mysidia toward the Mysidian Tower. The trip doesn’t go as planned; the next dungeon is one-time only with permanently missable chests, so save before sailing.