


Snow Cavern
Hilda sent you back to Josef in Salamand to chase the Goddess’s Bell lead from the King. Minwu’s gone, so you’re a party of three for now. This chapter covers Salamand, Semitt Falls (one last chest), and the 6-floor Snow Cavern for 14 chests and 9 new bestiary entries.
From Altair, canoe across the lake past Paloom and follow the path north. When the mountains open up, cut northwest to Salamand.
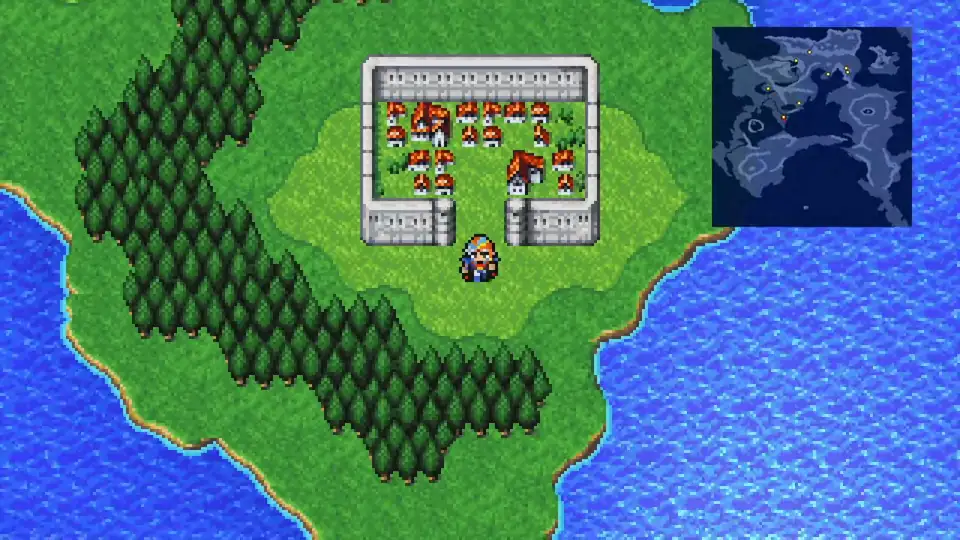
Salamand
Visit Josef in his house at the northeast corner and ask about Goddess’s Bell. He tells you the Bell is in Snow Cavern, but you’ll need the Snowcraft to cross the snow fields. He hid it in Semitt Falls during the Imperial occupation. Josef joins your party as the fourth member.
He shows up empty-handed, so equip him with anything spare from your inventory. If you haven’t picked up Life yet, the Salamand magic shop sells it for 1,000 Gil. It’s worth grabbing before the bosses ahead. Then walk back to Semitt Falls.
Semitt Falls
You’re back in the dungeon you cleared in chapter 2, this time with Josef. Walk to the blue stone in the upper area and have him interact with a small rock in the top-right corner. A secret passage opens. Walk to the chest and grab the Snowcraft, the 11th and final chest of Semitt Falls.
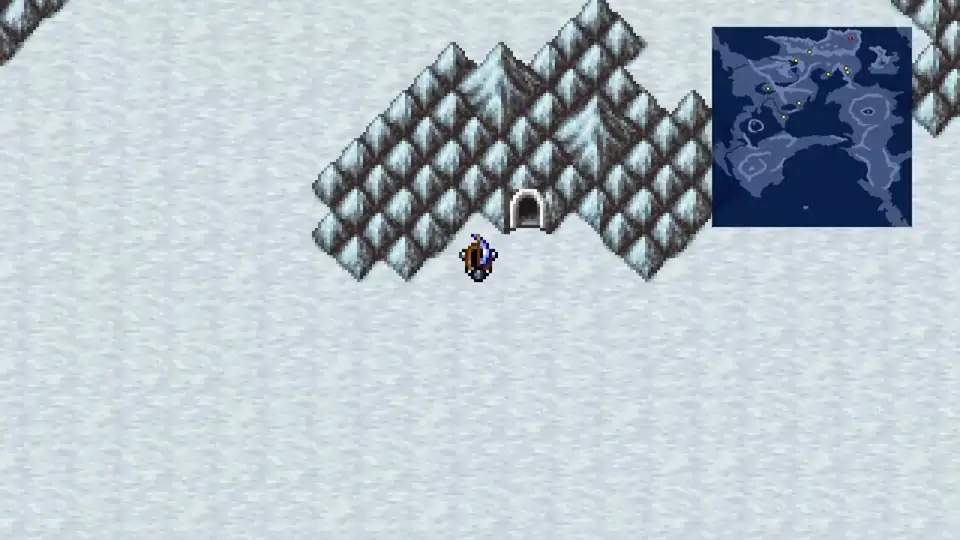
Exit the dungeon. From Semitt Falls, canoe west through the narrow passage and take a right at the ocean. Hug the water north until you find a small passage onto the snow. Push east across the snow fields until you reach a small mountain range with an opening, then enter when ready.
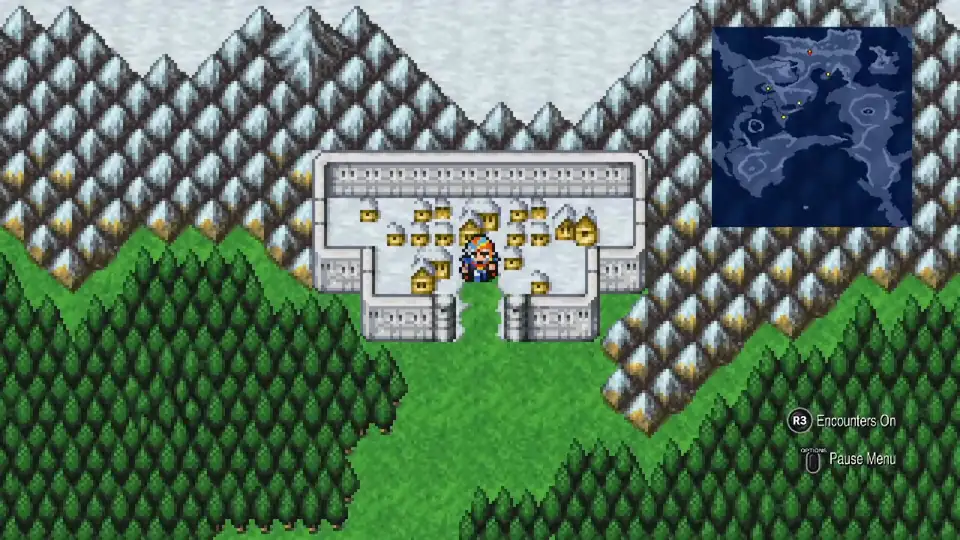
Snow Cavern
Snow Cavern has 13 chests and two boss fights across 6 floors. Most enemies are undead (Ghouls, Shadows, Zombies, Dead Heads) and weak to Fire.
New Enemies


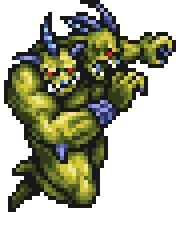

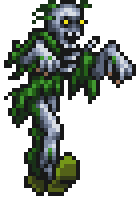

Dual Heads are the real threat here; both heads attack each turn, so damage stacks fast. Ghouls hit hard but have no special tricks beyond their physical. Grenades self-destruct when damaged: kill them all in one round or wait for the explosion to miss, then finish the job.
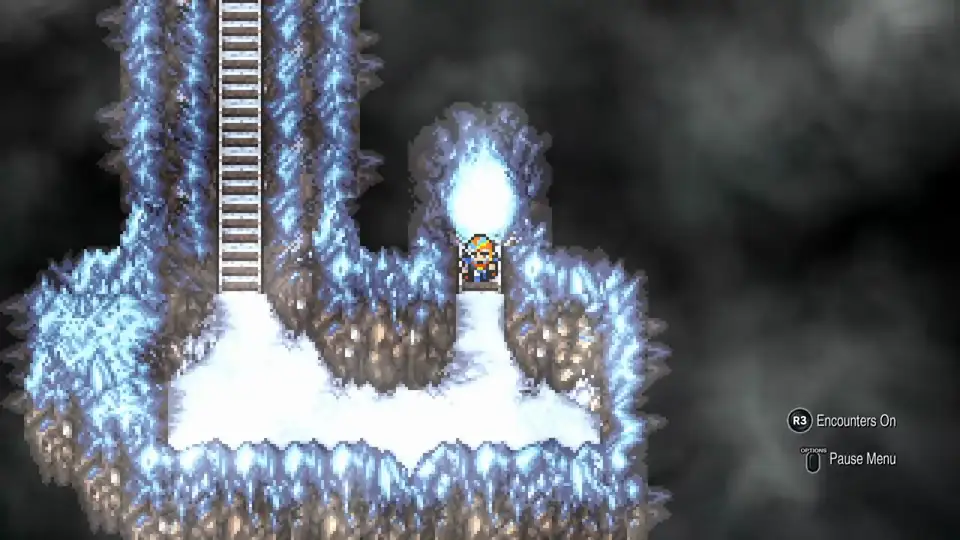
B1 (2 chests). Go up the long staircase. Icicles spawn here; two physical attacks drop them. At the top, head left along the upper section for the 300 Gil chest. Continue south. At the first intersection, go right for the 350 Gil chest. Continue south and take the stairs down. Skip the door at the bottom; you’ll come back through it later.
B2 (no chests). Walk through the water, ignore the door, and take the stairs down.
B3 (1 chest). Go left and up, loop around for the Antarctic Wind chest. Save this item for the Adamantoise boss; one use deals heavy Ice damage. Then return to the stairs, take the path to the top-right corner, and climb back up to B2.
B2 Upper (3 chests). You’re on the upper section of B2 now. Walk to the intersection, then south to the bottom-right corner for the Battle Axe. Back to the intersection, go west for the Antidote, then continue west for the Mythril Mace, guarded by six Grenades. Kill them in one round or wait for self-destruct to miss. The Mace is a Staff type, so it doesn’t help any of your physical attackers; sell it or shelve it.
B4 (4 chests). Head back to B3, then south through water to the next staircase. Circle the outer edge of B4; top-left has a Potion; just to the right is the Blizzard Tome. Teach it to whoever’s leveling Black magic. Continue south for a second Potion, and just to the right is the Mythril Spear. Go north, skip the door, take the stairs.
B5 (2 chests). Take the path west to the top-left corner for the Mythril Shield. Skip the nearby door; go right and south. Bottom-left corner has the Ancient Sword, ambushed by 3 Ghouls and 3 Shadows. Hand it to Firion for the Adamantoise fight; its Curse effect tanks the boss’s defense.
The bottom-right corner has a door. Inside is a room full of Beavers. Talk to the one against the top wall (Guy can speak Beaver). Ask about Goddess’s Bell and he points you at a secret passage in the right wall. Walk straight through the wall in the top-right corner of the Beaver room; it’s a hidden passage to B6.
B6 (1 chest). The path zigzags down. Follow it to the bottom row; far right is the Silver Cuirass, your 13th chest. Heal up and save before approaching the Adamantoise at the back of the floor. It has very high defense, so physical attacks do almost nothing. Bring Blizzard and the Antarctic Wind from B3.
How to Beat Adamantoise
After the fight, walk up to the wall and grab the Goddess’s Bell. Adamantoise has a rare Diamond Shield drop too, so check your inventory.
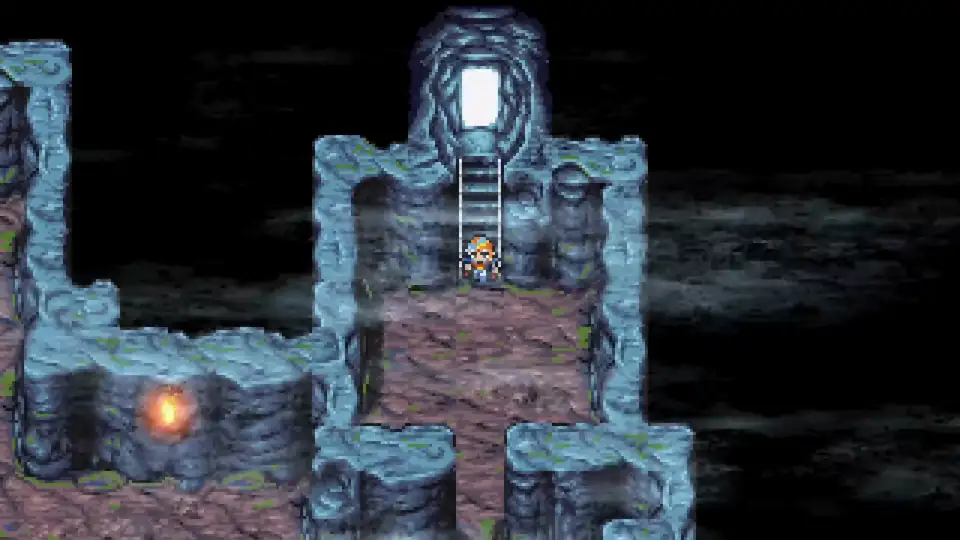
Escape
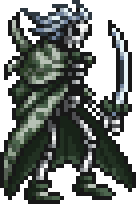
Go up the stairs and through the door. It spits you out at that B1 door we skipped earlier, near the start of the dungeon. Follow the corridor north, then right. Borghen is waiting at the top of the staircase.
How to Beat Borghen
After the fight, Borghen reveals he booby-trapped the cave. A boulder triggers and the party runs for the exit. Josef stays behind to hold it back so the rest can escape.
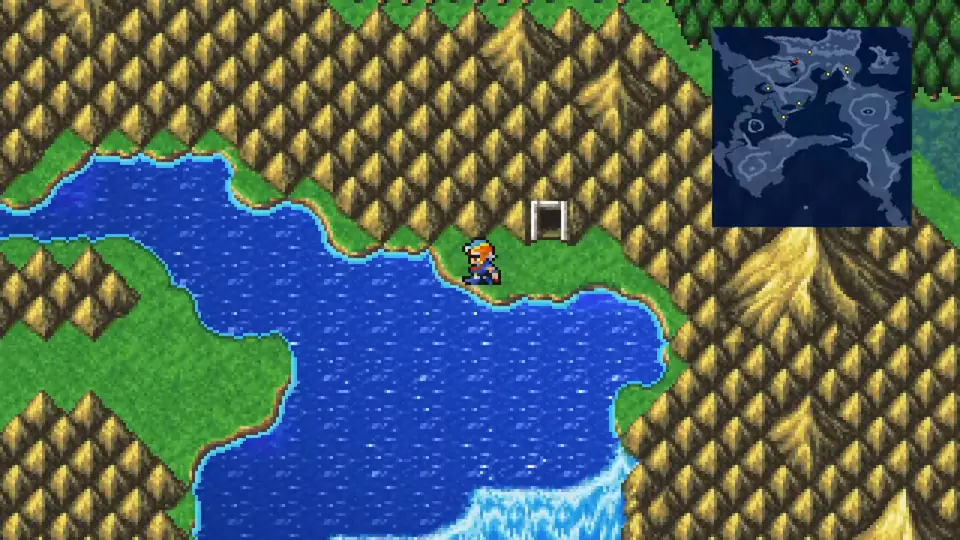
You’re back to a party of three. Outside, ride the Snowcraft west until you hit grass, then cut southeast to Poft to rest.
The next chapter takes you to Kashuan Keep with the Goddess’s Bell to retrieve the Sunfire. Stock Potions and Phoenix Downs, equip your Mythril gear, and make sure Esuna and Basuna are leveling.