


Dreadnought
Hilda and Cid are prisoners aboard the Dreadnought. Time to use the Sunfire and bring the airship down. This chapter covers the Dreadnought for 10 missable chests and 6 new bestiary entries (2 missable).
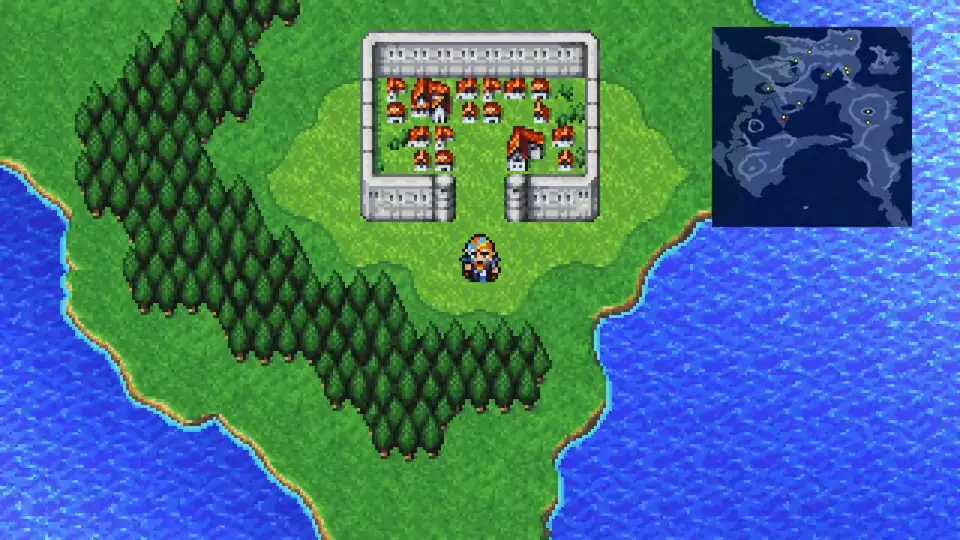
Walk northwest from Altair through Gatrea and past Fynn. It’s a long walk through forest and marshland.
New Enemies (*Missable)

Phorusracos (140 HP) roams the world map outside the Dreadnought. It stops spawning later in the game, so make sure to fight at least one before boarding.
Save before entering.
Dreadnought
The Dreadnought has 5 floors and 10 chests. There’s no boss fight, but a Hill Gigas ambushes one of the 4F chests and hits like one. Collect everything before using the Sunfire on the engine.
New Enemies (*Missable)


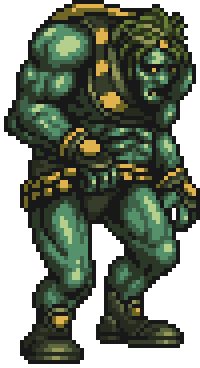
Werepanthers (190 HP) hit harder than Ogres and absorb more punishment. Stunners can Paralyze your party (Basuna Lv5+ to cure mid-fight; see the leveling page for the Basuna ladder). Helldivers also spawn on the pre-Cyclone overworld but vanish after the Cyclone event fires, so the safest bet is to log one here while the dungeon’s still open. Avoid talking to the roaming soldiers on 1F: doing so triggers a brutal Captain fight (750 HP, 6 hits per turn) you don’t want at this stage. Cast Protect and Blink before the tougher rooms.
Once inside the Dreadnought, speak with the guard and hand him the Pass you picked up in Bafsk Cave.
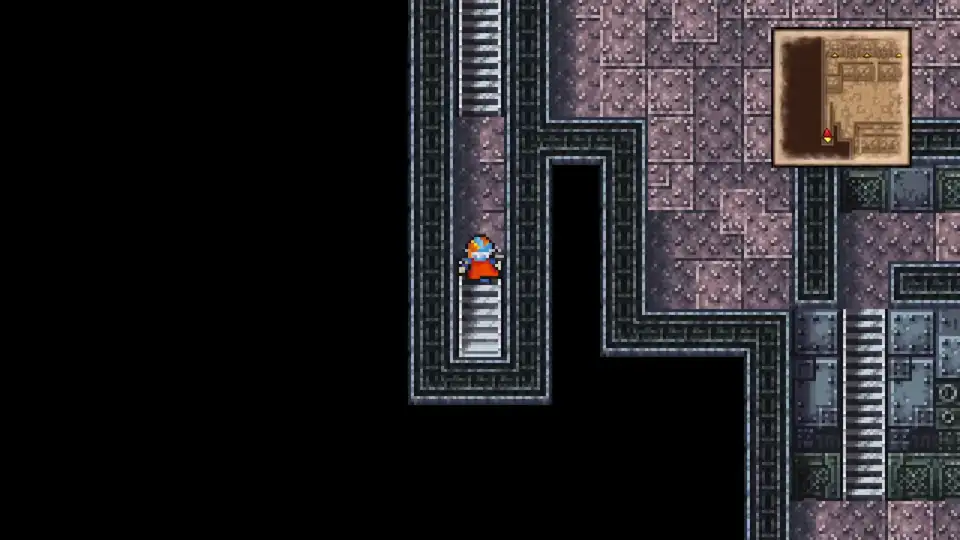
1F (2 chests). Go up the stairs in the top-left corner for the 600 Gil chest. Back down, take the middle stairs going down, then walk straight through the wall on the right (it’s a hidden passage) to find the Sleep Blade chest. 3 Soldiers, 2 Sergeants, and 3 Magicians ambush it. The Sleep Blade inflicts Sleep on hit, useful for crowd control in longer fights. Double back upstairs, then up and right. At the junction, go right and through the door to 2F.
2F (4 chests). Walk down to the split. Go right; follow the path for the Hi-Potion and Potion chests. Back to the split, push all the way left. Bottom-left corner has the Dark Bow. Go up, then right, then down for Thief’s Gloves. Take the right path and open the green gate to find the prison cells.
Inside the prison cells, free Hilda and Cid. Cid takes Hilda to safety on his airship; you continue on foot. Make your way back to 1F.
3F. From 1F, go south to the stairs leading down. Follow the path around to the door and continue down to 4F.
4F (4 chests). Follow the path to the top-right corner. All four chests sit in one room: Trident, Main Gauche, Ice Shield, and Giant’s Helm. The Trident and Giant’s Helm are both solid upgrades worth equipping before you continue. Once the room is cleared, walk to the middle and go up the stairs; follow the doors to 5F.
5F (Engine Room). A maze with patrolling guards. Soldiers and Sergeants are the only fights here, and neither’s a threat at this point. Go right and up, then left, weaving through the corridors to reach the door at the top.
Destroying the Engine
Open your inventory and use the Sunfire on the engine. The flame catches immediately and the airship begins to break apart. Cid arrives in his private airship and lifts your party out before the Dreadnought crashes into the ocean.
Returning to Altair
Cid drops you back at Altair automatically. Walk to the rebel hideout and go upstairs to the King’s room. A cutscene plays in which the King names Gordon as the rebellion’s new leader, then passes away.
Gordon sends you to find the Dragoons of Deist, a legendary order of wyvern riders the rebellion needs to shift the war. The next chapter takes you across the sea to find them. Buy Antidotes and Eye Drops before you leave; the enemies on the route to Deist hit with status effects.